
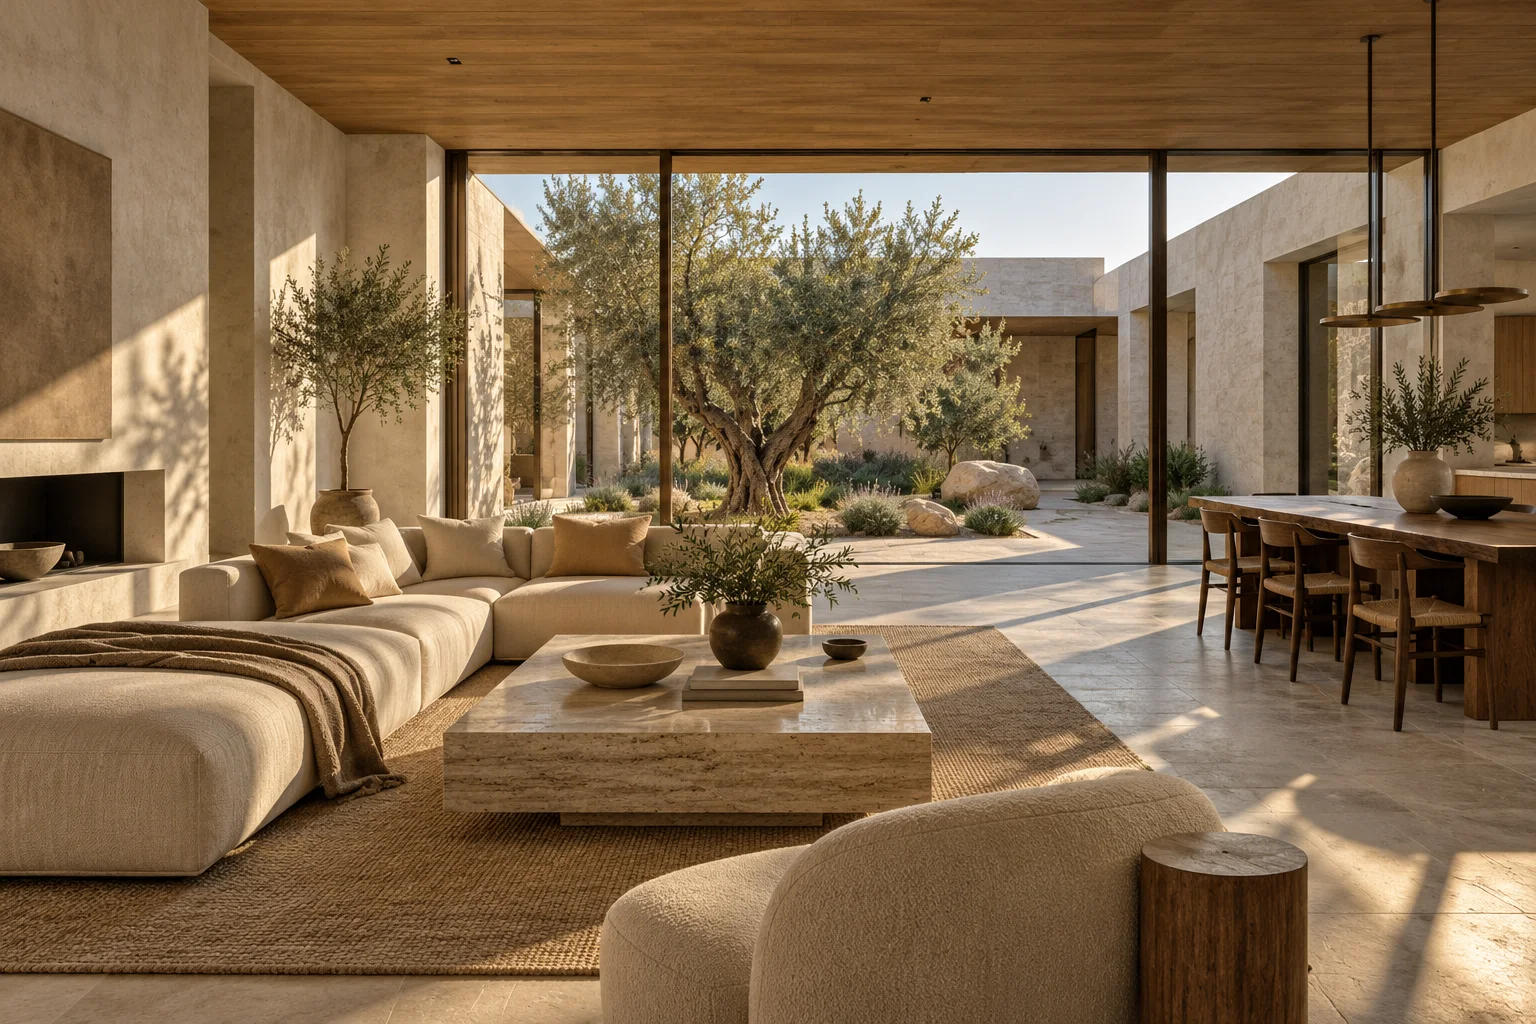
Name the space, materials, light and constraints.
Start with the visible room and the surfaces that matter. Include a small, compatible material palette, an understandable lighting direction and a clear statement about the camera and layout. You can put these notes on a saved shot before generating it.
Do not rely on a prompt to provide missing dimensions or to repair a wrongly extracted room. Instructions to preserve geometry are useful guidance, but they are not a guarantee. Keep the original model shot available for comparison.
- Space: identify the room and the part visible in the shot.
- Materials: name the surfaces, finishes and colors that matter.
- Light: specify soft daylight, evening light or another coherent direction.
- Constraints: identify the layout, openings and camera you want retained.
Great room: make the material relationship explicit.
A living-room prompt can focus on flooring, walls and a restrained furnishing direction. Describe materials that work together and avoid introducing objects that change how the room functions.
After rendering, compare the glazing, door locations and proportions against the original. If the AI has changed an architectural detail, do not treat the attractive finish as evidence that the underlying arrangement is correct.
EXAMPLE PROMPT / ADAPT TO YOUR SHOT
Show this great room with warm oak flooring, soft off-white walls, a restrained linen seating palette and daylight from the existing glazing. Retain the walls, visible doors and windows, ceiling proportions and camera composition. Keep circulation visually clear.
Kitchen: distinguish the island from the perimeter.
“Oak kitchen” can leave the AI guessing which parts should change. Identify the island, perimeter cabinets and countertops separately when their finishes differ.
For a revision, ask for one surface change at a time. Compare versions using the same camera so the change in material is easier to evaluate.
EXAMPLE PROMPT / ADAPT TO YOUR SHOT
Use warm white oak on the perimeter cabinetry and a muted charcoal island base, with pale honed stone countertops and understated dark hardware. Preserve the island position, openings and camera. Use soft daylight; do not redesign the kitchen layout.
Bedroom: keep the architectural view legible.
A bedroom image does not need a large number of accessories to communicate a design. Ask for a simple furnishing direction and a clear relationship between walls, flooring and light.
Review the result for invented windows, doors or architectural features. A finish study is useful only if you can tell which decisions are proposals and which come from the drawings.
EXAMPLE PROMPT / ADAPT TO YOUR SHOT
Render this bedroom with warm neutral walls, light oak flooring, restrained linen bedding and soft daylight. Keep the existing openings, walls and camera composition. Avoid adding architectural features or changing the room proportions.
For an edit, state what changes and what stays.
Open the saved rendering, choose its reference version, and describe the intended change. A successful edit becomes another version with the prompt retained. You can return to an earlier image instead of losing it when a new option does not work.
Review the entire image after a local material edit. AI image editing is guided rather than guaranteed pixel-exact masking; details outside the intended change can shift.
EXAMPLE PROMPT / ADAPT TO YOUR SHOT
Change only the living-room wall finish to a warm limewash appearance. Keep the furniture, floor, windows, doors, lighting and camera composition unchanged. Preserve all visible architectural geometry.
Common questions
Where do I add a rendering prompt?
Add material and design notes to a saved camera shot before rendering. For a revision, open a rendering from its thumbnail and describe the change beside its version history.
Will “keep everything else unchanged” guarantee an exact edit?
No. The instruction guides the model, but unintended changes can still occur. Compare the full result with the selected reference and original model shot.
Can I edit an earlier version?
Yes. Select the saved version you want to use, then create another revision. The new version retains its source version and prompt.