
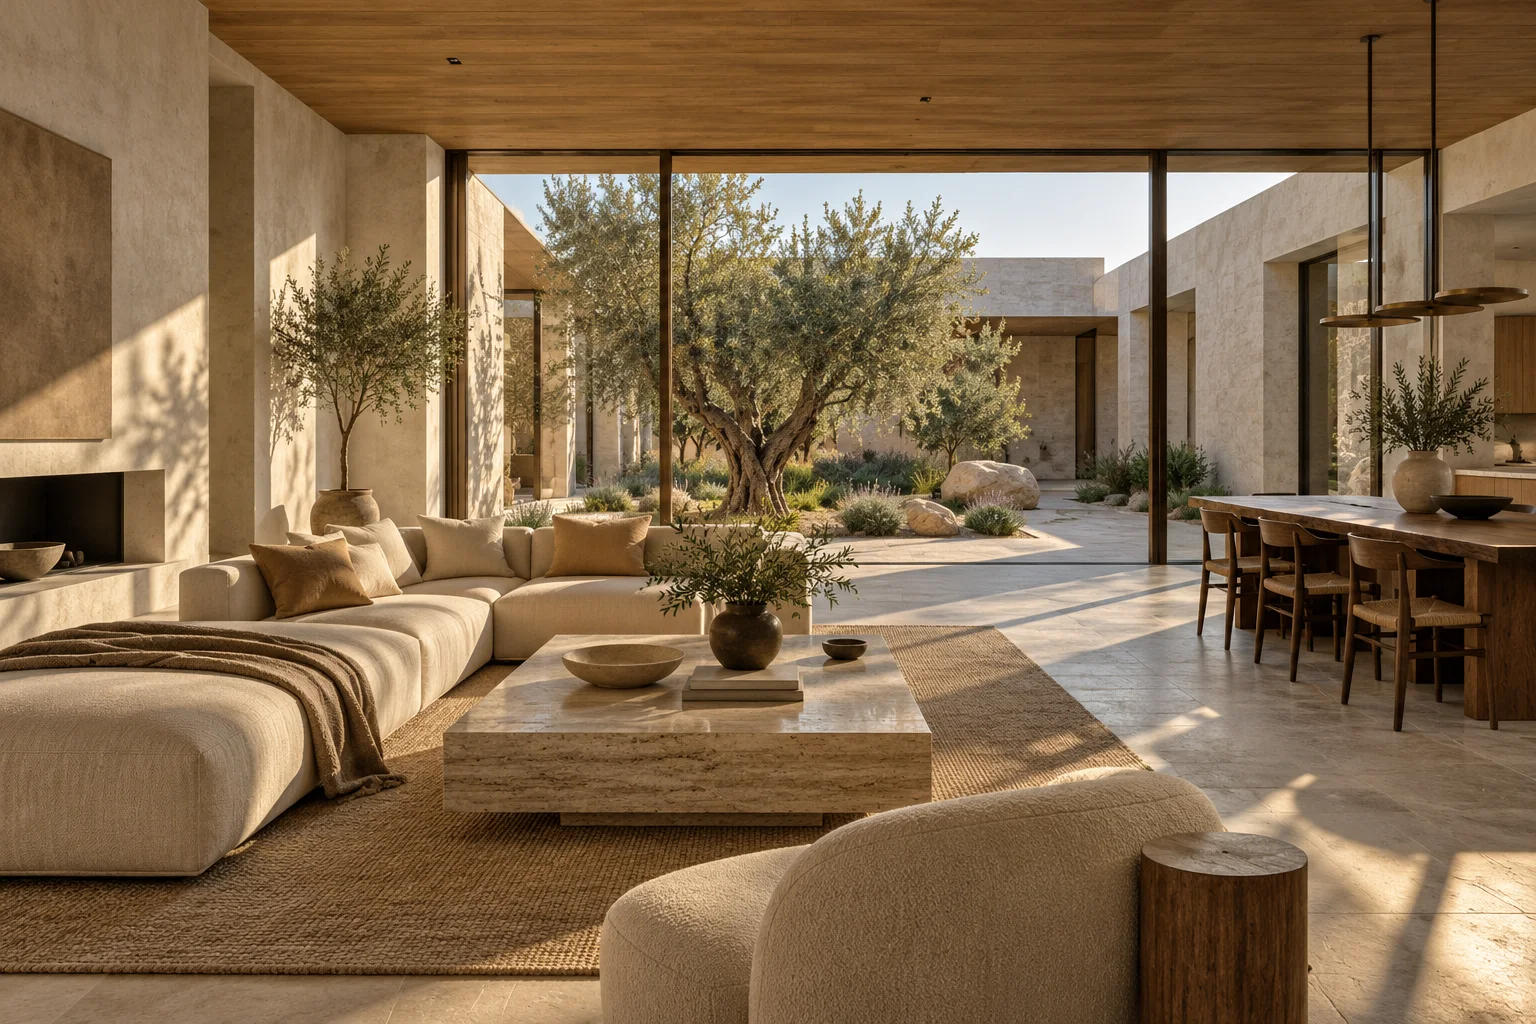
Check the kitchen layout before testing cabinetry.
Upload the plan set and inspect the basic model. Confirm where the kitchen sits in relation to dining, living and circulation. Check openings that the chosen view will show and compare the modeled layout with the construction documents.
The reconstructed model may include indicative kitchen elements. It is not a fabrication model or a guarantee that every cabinet, appliance and clearance has been specified correctly. Keep interior elevations and the actual kitchen layout available for review.
Save three views with three purposes.
One dramatic angle rarely answers every kitchen question. Capture a view of the cabinet wall, a view that shows the island, and a wider view of how the kitchen meets the adjacent room. Give each shot a name that tells you what it is meant to test.
Use the same saved shot when comparing finish options. If the camera and composition move between images, it becomes harder to decide whether the material choice improved the space or whether the new angle simply looks more attractive.
- Cabinet wall: compare finish, color and the relationship to glazing.
- Island perspective: compare base finish, counters and lighting.
- Kitchen-to-living view: compare flooring continuity and overall palette.
Limit the first render to a coherent palette.
Choose Kitchen as the room type and a design style that fits the project. Describe the important materials plainly: warm oak, pale stone, matte hardware and soft daylight are more actionable than a list of unrelated style names.
Avoid changing the plan, furniture, materials and lighting in every iteration. Start with a baseline you can evaluate. Inspect the generated image for shifted openings, added cabinetry and invented details before deciding to carry it into the next version.
EXAMPLE PROMPT / ADAPT TO YOUR SHOT
Render the kitchen with warm white oak cabinet fronts, pale honed stone countertops, understated dark hardware and soft daylight. Keep the island position, wall layout, window openings and camera composition from the original shot.
Edit one decision at a time and keep the earlier image.
Open the saved rendering from its thumbnail. Choose the version you want to use as the reference, then ask for one change. A dark island, a warmer wall color or a different cabinet finish are separate experiments rather than one combined redesign.
Every successful AI revision becomes a new version. Earlier images and prompts remain in the history, so you can revisit the option you preferred. Compare the selected version with the Original model shot as well as with the alternative finish.
EXAMPLE PROMPT / ADAPT TO YOUR SHOT
Change only the island cabinet finish to deep charcoal. Keep the perimeter cabinets, countertops, windows, lighting and camera composition unchanged.
Allocate a few renders to views and a few to revisions.
The $99 house package includes 12 renders shared with any exterior and other interior views. Three kitchen camera angles plus two revisions use five successful renders, leaving seven for the rest of the house. This is an example allocation, not a promise that the first result will meet every requirement.
Use the free basic model to choose your views before spending the allowance. Render at the stage where the image can answer a design question, then check the actual drawings and specifications before ordering materials or approving details.
Common questions
Can I visualize a kitchen before it is built?
Yes, if the uploaded drawings provide a usable model. Capture the kitchen view from that model and use it as the AI rendering reference.
Can I compare painted and wood cabinets?
Yes. Keep the same source view, generate a baseline, and create a separate edit version for a cabinet-finish change. Inspect the output for unintended changes.
Does a kitchen edit use a render?
Each successful image revision uses one render from the same house allowance. Failed generations are returned to the allowance.